Best eSIM for Japan in 2026: a Guide for New Zealand Travellers
Written by: James Harrington
12 min read
HelloRoam is a global eSIM provider offering instant mobile data in 170+ countries. Buy prepaid travel eSIM plans with no extra fees, no contracts, and instant activation on any eSIM-compatible device.
12 min read

A data plan for Japan is necessary, not optional. Your phone is your map, your translator, your booking platform, and your transport guide. Without continuous data, it's an expensive camera.
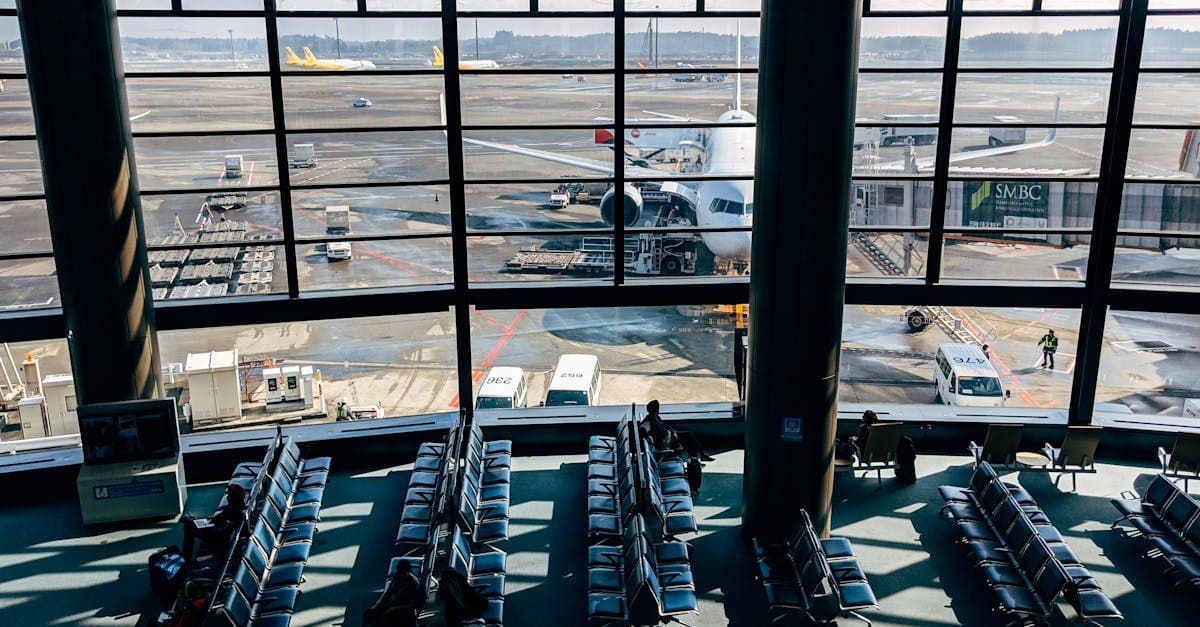
Free WiFi in Japan is real. Step into any 7-Eleven, Lawson, or FamilyMart and you'll find a connection waiting. The catch: you get 30 to 60 minutes per session, then it disconnects. Re-authenticate, get another slot. It's fine for checking emails over a coffee, but it's useless for navigating on foot through Osaka's Dotonbori district when your map goes blank mid-block.
The real test is Google Translate's camera mode. Point your phone at a restaurant menu and it overlays English translations directly over the Japanese characters in real time. It's genuinely one of the most useful tools for a Japan trip, and it needs a live data connection to work. Session-limited public WiFi won't keep it running as you move between restaurants.
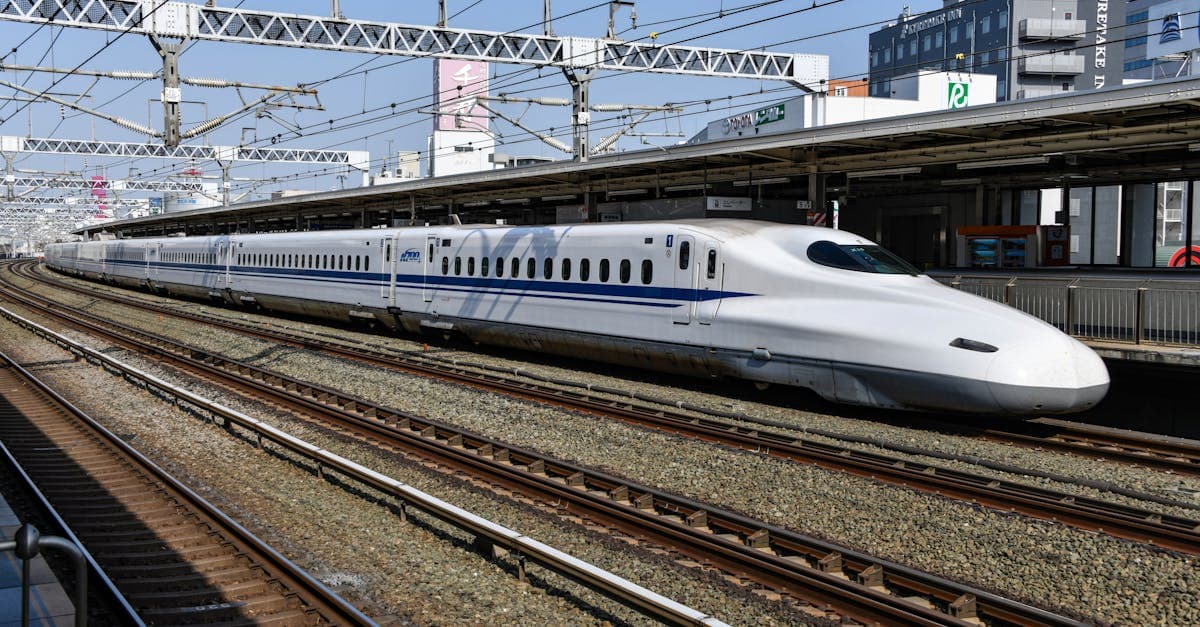
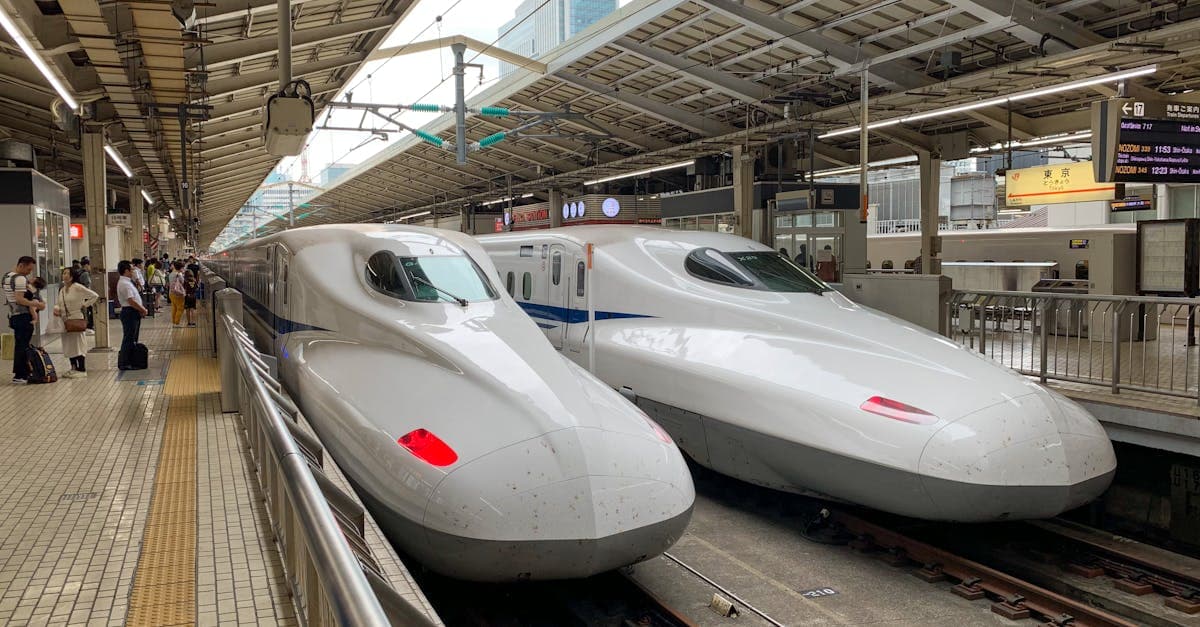
Shinkansen WiFi is the other popular argument for skipping a data plan. The N700S Series trains on the Tokaido Line do offer free WiFi, but the Tokyo to Osaka route passes through tunnels frequently enough that the connection drops regularly. Trying to book dinner or check your next hotel's check-in instructions during that journey is unreliable.
Head outside the cities and the WiFi argument falls apart entirely. Rural onsen towns, smaller shrine complexes, regional ryokan, remote mountain trails: free public WiFi often doesn't exist. NZ travellers typically go to Japan for precisely these places.
Japan's 4G LTE network reaches 99.9 percent of the population, with NTT Docomo carrying the largest share of that coverage. Dead zones are nearly non-existent outside genuinely remote areas. By 2026, 5G is live across all major urban corridors: Tokyo, Osaka, Kyoto, Nagoya, Fukuoka, and Sapporo.
Four carriers run the network. NTT Docomo has the broadest rural reach and is the backbone for most tourist eSIMs sold internationally. au (KDDI) performs strongly across western Japan, particularly useful for Hiroshima and Kyushu itineraries. SoftBank covers the country well nationally, with slightly thinner reach in very rural areas. Rakuten Mobile is urban-only.
Most tourist eSIMs you'll find sold online run on either Docomo or SoftBank infrastructure, though providers don't always make this prominent. For a standard Golden Route trip covering Tokyo, Kyoto, and Osaka, any of the three main carriers works fine. For regional itineraries that include Kanazawa, the Tohoku coast, Hakone, or rural Hokkaido, Docomo-backed or SoftBank-backed plans are the correct choice.
Two sources of supplemental WiFi are worth knowing about. JR stations and Tokyo Metro have reliable free connections in major hubs. Convenience stores are ubiquitous but carry the same session limitations described in the previous section: useful in a fixed location, not useful on the move.
For anyone planning a regional itinerary, the network behind your eSIM matters as much as the plan's data allowance.
Rakuten Mobile is Japan's fourth national carrier, with strong urban coverage but significant gaps past city limits. Rural prefectures, mountainous terrain, smaller islands, and regional towns off the Shinkansen corridors all sit in weak or non-existent Rakuten coverage zones.
An eSIM running on Rakuten infrastructure can lose signal at Hakone's hot spring resorts, drop out in Nikko's cedar forests, and stop working reliably across rural Hokkaido and the outer Okinawan islands beyond Naha. The carrier launched in 2020 and built a genuinely competitive urban network. The coverage situation outside cities is a different matter.
The issue is that most eSIM comparison guides list plan names and prices without telling you which carrier network the plan actually runs on. That information isn't hidden, but you sometimes have to dig for it. Before purchasing any Japan eSIM, check whether the plan runs on NTT Docomo, SoftBank, or Rakuten Mobile. Docomo and SoftBank-backed plans cover the destinations NZ travellers actually book.
NZ travellers tend to build longer Japan itineraries than their European counterparts, partly due to flight distance and cost. Regional travel is common: Kanazawa for the craft culture, Nikko for the shrine complex, the Tohoku coast for ryokan and mountain scenery. These are exactly the itineraries where a Rakuten-backed eSIM becomes a practical liability.
Two questions before you buy: which network, and what does it actually cover? Docomo and SoftBank are the safe answer for anyone going beyond the main cities.

Most Japan trips consume 1 to 1.5GB of data per day. Four apps drive that budget: Google Maps, Google Translate's camera mode, reservation platforms (Tabelog for restaurants, HyperDia for train times), and social media uploads. Of these, Maps is the constant drain. Navigating unfamiliar streets, checking exits at multi-level stations, rerouting after a missed turn: it runs in the background almost continuously.
Days when you're arriving in a new city or navigating somewhere without pre-downloaded offline maps can push closer to 2GB.
Here's a practical sizing guide for NZ travellers:
That 21-day row is the one most eSIM comparison guides skip. Content targeting 7-day European city breaks doesn't serve NZ travellers, who typically spend two to three weeks in Japan given the cost and distance of the flights.
Before you leave New Zealand, download offline Google Maps areas for every region you're visiting and install the Japanese language pack in Google Translate. This cuts daily data consumption by roughly 20 to 30 percent. You'll still need live data for real-time translation and navigation corrections, but offline packs absorb the baseline load.
The 500MB per day plans at the cheaper end of the market aren't sufficient for active navigation and translation combined. A minimum of 1GB per day is the practical floor.(https://www.helloroam.com/en-NZ/local-esim) start from NZ$2.10 for 1GB, with options for longer trips and NZD pricing throughout. Compare that against NZ carrier roaming, where Spark and One NZ both run around NZ$8 to NZ$9 per day: a 21-day trip on either network can cost NZ$168 or more in roaming charges before you've bought a single train ticket.
Size your plan to your itinerary, not to the lowest price on the page.

Hello Roam offers Japan eSIM plans on the NTT Docomo network, priced in NZD, covering trips up to 30 days. Plans arrive as a QR code delivered by email and install directly onto your phone without requiring a physical SIM swap.
No SIM tray tool. No arrivals counter queue. No hunting for a b-mobile vending machine at Narita at 11pm after a 10-hour flight from Auckland.
Open Settings, scan the code, and the eSIM profile loads directly onto your phone without needing a mobile data connection. Nothing physical to insert. No foreign-language packaging to decode under airport lighting.
Coverage runs on the Docomo network, Japan's carrier with the broadest rural reach. That distinction matters for itineraries venturing past the main tourist corridor: Hokkaido's interior, regional Tohoku, the smaller Okinawan islands, onsen towns deep in the Japan Alps. Docomo's infrastructure covers ground where urban-only carriers thin out, and a three-week NZ itinerary will likely take you into at least some of that territory.
Plans are available for extended trips up to 30 days, matching the kind of itinerary that actually earns its long-haul flight cost. Pricing is in NZD throughout, with no USD conversion needed and no exchange rate surprise at checkout. Pricing scales with trip length, sitting well below what NZ carrier daily roaming adds up to over the same period.
Support is available 24/7 in English. If a setting needs adjusting after landing, both Narita and Haneda have free WiFi in their arrivals areas, so you're not troubleshooting on roaming data.
Japan's airport SIM counters are well-stocked and accessible. None of them work before you board.

Airalo leads most global eSIM searches, which makes it the default first comparison. Japan plans are priced in USD, with no NZ-specific framing, no comparison to Spark or One NZ daily roaming rates, and nothing sized for a three-week trip. It's a well-built platform that answers a slightly different question than the one a NZ traveller is actually asking.
Holafly's unlimited data plans look attractive on paper. On a 21-day Japan trip, the per-day cost runs significantly higher than a volume-based plan from a provider sized for longer itineraries. Unlimited data makes sense for heavy streamers. For a tourist managing Maps, Translate, and occasional reservation apps, it's a pricing structure that doesn't fit the use case.
Nomad eSIM has reasonable ANZ positioning and a clean interface, but Japan editorial content is thin. No NZD pricing. No NZ carrier roaming comparison to anchor the value case.
Airport SIMs at Narita and Haneda, including IIJmio and b-mobile options, run NZ$32 to NZ$75 for 7 to 15-day plans. They're accessible on arrival but require an in-person queue, can't be pre-activated before departure, and cap out at 15 days. A three-week trip needs a second SIM sourced mid-journey.
Hello Roam's Japan eSIM covers the gaps that matter specifically for NZ travellers: NZD pricing, access to the Docomo network for regional coverage, plans extending up to 30 days, and activation from home before departure. Those four criteria aren't obscure requirements. They're just what a long-haul trip from New Zealand actually demands.
The difference between a globally adequate Japan eSIM and one built for this specific trip isn't complicated. It's just precise.
Do this before you pack. Not at Narita. At home, with decent lighting and your inbox open.
Step 1: Check device compatibility. iPhone XS and later, Samsung Galaxy S21 and later, and Google Pixel 6 and later all support eSIM. Around 71 percent of tourist devices in 2026 are compatible. On iPhone, go to Settings > Mobile Service > Add eSIM to confirm. On Android, check Settings > Connections > SIM Manager.
Step 2: Confirm your phone is carrier-unlocked. Phones purchased outright in New Zealand are typically unlocked. If yours came on a Spark, One NZ, or 2degrees contract plan, check with your carrier before travel. A locked handset will still take calls and texts on your NZ SIM but won't accept a foreign eSIM profile.
Step 3: Purchase your Japan eSIM from your chosen provider. A QR code is delivered by email. Save it somewhere accessible before departure, not buried in a promotional folder.
Step 4: Install the eSIM profile in Settings before you leave. Go to Settings > Mobile/Cellular > Add Plan and scan the QR code. The profile installs without needing a mobile data connection, so you can do this anywhere at home.
Step 5: On landing at Narita or Haneda, toggle the Japan eSIM line ON and enable Data Roaming for that line specifically. Connection establishes within 30 to 60 seconds.
One critical point: don't activate the Japan data line before landing. Enabling it at Auckland Airport or during the flight can trigger roaming charges before your trip has started.
Once live, keep your NZ SIM active in slot 1 for incoming calls and texts, and set the Japan eSIM as the default data line. You're running both simultaneously, which means no one back home gets an out-of-service message. Both major Tokyo airports have free WiFi in the arrivals hall if any settings need adjusting after you land.
Spark charges around NZ$9 per day for Japan roaming in 2026. One NZ and 2degrees each run at around NZ$8 per day. Over a standard two-week trip, that adds up to NZ$112 to NZ$126 in roaming costs alone, for a daily data cap that runs out well before your navigation session does.
Extend to three weeks, which is a realistic NZ Japan itinerary, and carrier roaming reaches NZ$168 to NZ$189. That's three to four times the cost of a tourist eSIM covering the same period.
Airport SIMs are viable for short trips. The ceiling at 15 days catches out anyone doing a three-week itinerary, who'd need to source a second SIM from a Japanese convenience store mid-trip and restart their data plan. It's manageable, but it's not sorted.
The minimum saving on a 14-day Japan trip using a tourist eSIM over NZ carrier roaming is NZ$57 to NZ$91. On a 21-day trip, that saving exceeds NZ$100. Hello Roam's Japan eSIM plans scale from short city breaks through to 30 days, built for the itinerary that makes the Auckland-to-Tokyo flight worth booking.
Yes, you can run your NZ SIM and Japan eSIM simultaneously on any dual-SIM compatible device. Your NZ bank sends a verification code mid-trip: if your NZ SIM stays active in slot one, that text arrives on your NZ number as normal. If you've swapped it out entirely for a Japan eSIM, it doesn't. Dual SIM is what keeps both working.
On iPhone, go to Settings > Cellular. Both lines will be listed. Set the Japan eSIM as the Default Data Line and leave the NZ SIM assigned for Voice and SMS. That's the whole configuration. Your NZ number stays reachable for calls, your Japan eSIM handles all data traffic, and your NZ carrier's roaming never activates because you're not using it for data.
Android users go to Settings > Network and Internet > SIM cards and assign each SIM a preferred role. Two minutes, done.
Critical step: make this change before you board, not after landing. The moment your NZ SIM registers on a Japanese network tower, your carrier's data roaming starts. Switching the default data line to your Japan eSIM while you're still at home prevents that entirely.
WhatsApp, iMessage, and FaceTime all route through whichever SIM holds the data role. Voice calls may go to your NZ line, but your messages and video calls run over the Japan connection automatically. No separate app settings required.
On eSIM-only iPhones (the US model of iPhone 14 and later, as noted in the setup section above), two eSIM profiles can run simultaneously, one for each country. No physical SIM slot required.

Yes, a data plan for Japan is essential rather than optional. Your phone serves as your map, translator, booking platform, and transport guide throughout the trip. Free public WiFi exists at convenience stores and stations but is session-limited and disconnects after 30 to 60 minutes, making it unsuitable for continuous navigation or translation.
NTT Docomo has the broadest coverage in Japan, including the strongest rural reach across regional areas and remote prefectures. au (KDDI) performs well across western Japan, while SoftBank covers the country nationally with slightly thinner rural reach. Rakuten Mobile is competitive in urban areas but has significant gaps outside city limits.
Rakuten Mobile works well in major cities but loses signal in rural areas, mountainous terrain, smaller islands, and regional towns off the main Shinkansen corridors. Tourists visiting places like Hakone, Nikko, rural Hokkaido, or the outer Okinawan islands should avoid eSIM plans running on Rakuten infrastructure and choose Docomo or SoftBank-backed plans instead.
Most Japan trips consume 1 to 1.5GB of data per day, driven primarily by Google Maps navigation, Google Translate camera mode, and reservation apps. For a 7-day trip, a 10GB plan is recommended. For 14 days, 15 to 20GB is appropriate, and a 21-day trip requires 20 to 30GB. The 500MB per day plans at the cheaper end of the market are not sufficient for active navigation and translation.
A 20 to 30GB plan is recommended for a 21-day Japan trip, accounting for daily use of Google Maps, Google Translate camera mode, and reservation platforms. Downloading offline Google Maps areas and the Japanese language pack in Google Translate before departure can reduce daily consumption by around 20 to 30 percent.
Purchase your Japan eSIM online and receive a QR code by email, then go to Settings on your phone and scan the code to install the eSIM profile. The profile installs without needing a mobile data connection, so you can complete the setup at home before departure. On landing in Japan, toggle the Japan eSIM line on and enable Data Roaming for that specific line.
iPhone XS and later, Samsung Galaxy S21 and later, and Google Pixel 6 and later all support eSIM. Approximately 71 percent of tourist devices in 2026 are compatible. On iPhone, you can confirm compatibility by going to Settings, then Mobile Service, then Add eSIM. On Android, check Settings, then Connections, then SIM Manager.
Yes, your phone must be carrier-unlocked to accept a foreign eSIM profile. Phones purchased outright in New Zealand are typically unlocked. If your phone came on a contract plan with Spark, One NZ, or 2degrees, check with your carrier before travel to confirm your device's unlock status.
Install the eSIM profile at home before departure, but do not activate the Japan data line until you have landed in Japan. Enabling the data line at the departure airport or during the flight can trigger roaming charges before your trip has started. Once you land at Narita or Haneda, toggle the Japan eSIM on and it connects within 30 to 60 seconds.
Yes, a dual-SIM setup lets you run both your NZ SIM and the Japan eSIM simultaneously. Keep your NZ SIM active for incoming calls and texts, and set the Japan eSIM as the default data line. This means contacts back home can still reach you and will not receive an out-of-service message during your trip.
In 2026, Spark charges around NZ$9 per day for Japan roaming, while One NZ and 2degrees each charge around NZ$8 per day. A standard two-week trip on carrier roaming costs NZ$112 to NZ$126, and a three-week trip pushes those costs significantly higher. Japan eSIM plans from providers like Hello Roam start from NZ$2.10 for 1GB, sitting well below what NZ carrier daily roaming adds up to.
Airalo is a well-built global platform but prices Japan plans in USD with no NZ-specific framing and no plans sized for a three-week trip. Hello Roam offers NZD pricing, runs on the NTT Docomo network for stronger rural coverage, and provides plans extending up to 30 days, which better matches the longer itineraries NZ travellers typically build given the flight distance and cost.
Unlimited data plans like those offered by Holafly cost significantly more per day than volume-based plans on a 21-day Japan trip. For a tourist primarily using Google Maps, Google Translate, and occasional reservation apps, a volume-based plan sized to actual usage is more cost-effective. Unlimited plans make more sense for heavy streamers or video creators.
Yes, airport SIM counters at Narita and Haneda stock options including IIJmio and b-mobile, priced at roughly NZ$32 to NZ$75 for 7 to 15-day plans. However, airport SIMs require an in-person queue on arrival, cannot be pre-activated before departure, and cap out at 15 days, which means a three-week trip would require sourcing a second SIM mid-journey.
No, Shinkansen WiFi is not a reliable substitute for a data plan. The N700S Series trains on the Tokaido Line offer free WiFi, but the Tokyo to Osaka route passes through tunnels frequently, causing the connection to drop regularly. Trying to book restaurants or check hotel check-in instructions during that journey is unreliable.
Google Translate's camera mode, which overlays English translations directly over Japanese characters in real time, requires a live data connection to function. Session-limited public WiFi at convenience stores will not keep it running as you move between locations. A continuous mobile data plan is needed to use this feature reliably throughout a Japan trip.
Before departure, download offline Google Maps areas for every region you plan to visit and install the Japanese language pack in Google Translate. These offline packs reduce daily data consumption by roughly 20 to 30 percent. You will still need live data for real-time translation corrections and navigation updates, but offline downloads absorb the baseline load.
Hello Roam's Japan eSIM runs on the NTT Docomo network, Japan's carrier with the broadest rural coverage. This makes it suitable for itineraries that go beyond the main tourist corridor, including Hokkaido's interior, regional Tohoku, the smaller Okinawan islands, and onsen towns in the Japan Alps where urban-only carriers lose signal.
New Zealand Travel Itinerary Template: Plan Your Perfect NZ Road Trip in 2026

Budget Flights to New Zealand in 2026: the Complete Booking Guide

Best Time to Visit Rarotonga From New Zealand: Month-by-Month Guide 2026

25 Best Things to Do in Bali: the Complete Guide for New Zealand Travellers in 2026
HelloRoam: your trusted travel eSIM that keeps you online across borders.
Explore Plans